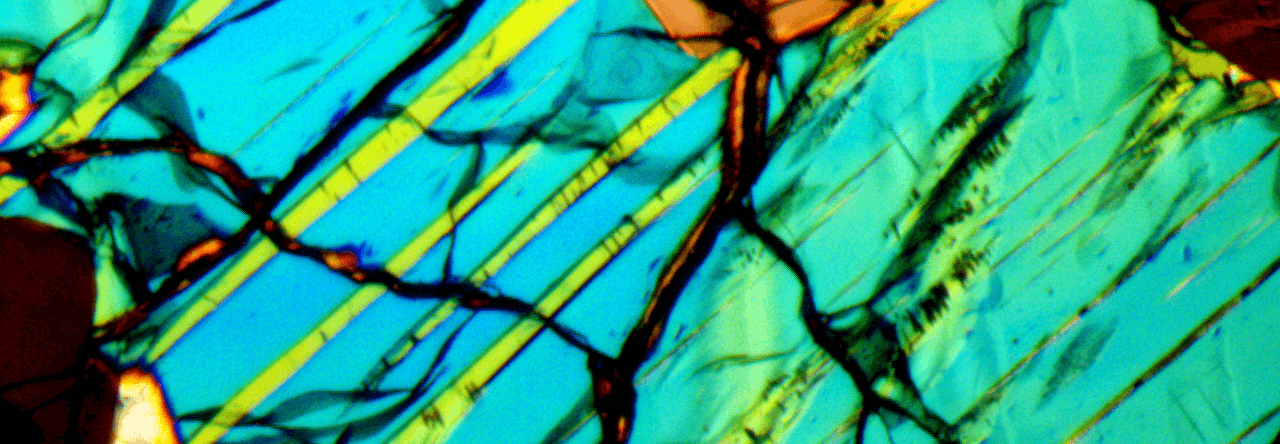
My 5MP A3550UPA Omax CCD has about 20 bad (hot or dead) pixel groups in every image. They seem to be identical through time and are noticeable on my raw images. Typically, the panoramas I create are composed of between 80 and 200 individual images that I stitch together manually. Before stitching I go through the images with the GIMP blur tool in order to remove these bad CCD pixels. Thus, I have to blur between 1,600 and 4,000 pixel groups. A tedious task! This takes between one and two weeks to complete, depending on my free time.
Bad CCD Example – Blue
My patience for this corrective task has run dry. Since I knew that GIMP was theoretically capable of performing such a repetitive task via a custom script, I decided to develop such a script. The final result is a tiny piece of code. Its brevity masks the hours of frustration and hopeless despair I encountered while learning Scheme and integrating the commands into GIMP as a valid working procedure. My work has paid off. I now have a script which corrects all my bad pixels.
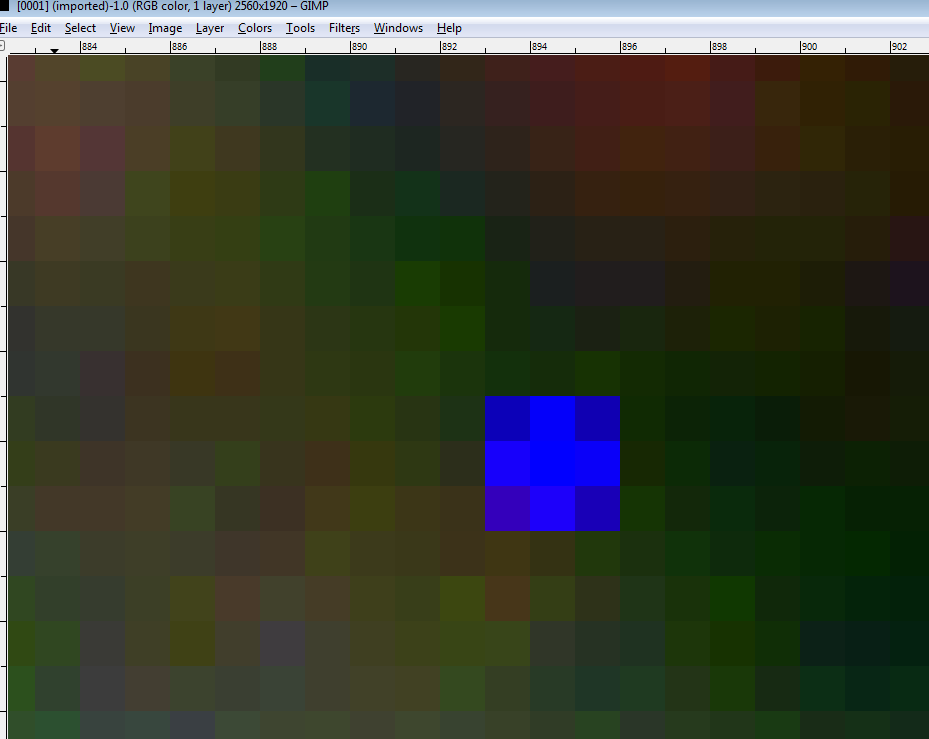
At first I tried to develop a script based on layer masks and Gaussian blurring. The results were never what I wanted. For instance a Gaussian blur mask on only the bad pixels still contained some of the original RGB color information from the bad pixels. I then tried doing the Gaussian blur preceded by a selection remove of the bad pixels. However, this had a problem – the Gaussian blur is not fully colored in the removed bad pixel areas, i.e. transparency issues remain in the removed pixel holes. The final result had colors were not quite correct.
Gaussian Blur Without Bad Pixel
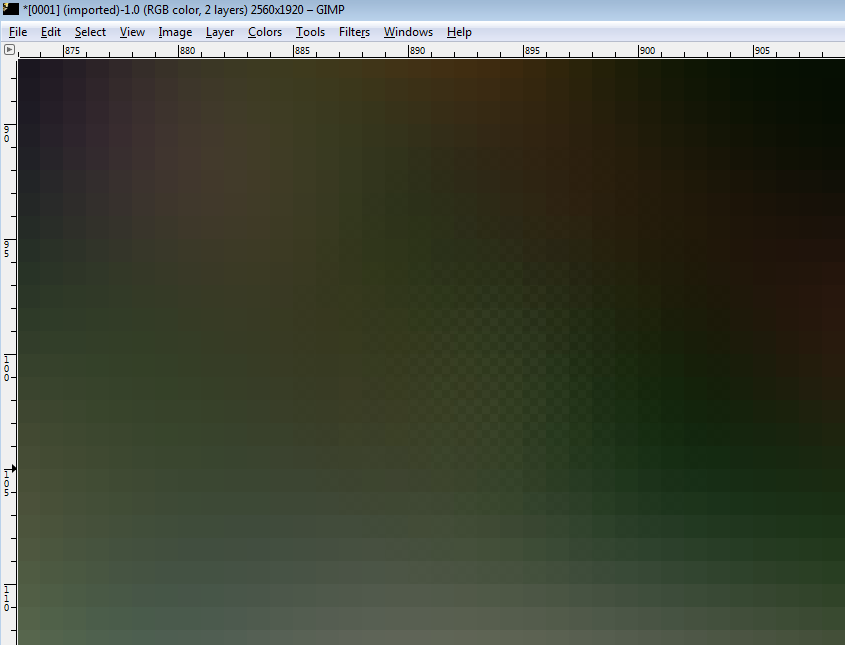
Isolate the Pixel
I thought I had reached a brick wall and that I may have to do the pixel correction manually as before.
After a little research I found the work of Dr. Paul Harrison, who has created an amazing GIMP Python plugin designed for complex pixel correction. You can read about this plugin and all its cool features at Pat David’s blog.
The final code flows from this discovery and the entire script is centered around the Heal Selection plugin. The script loops through a set of images and prepares them for the Heal Selection function.
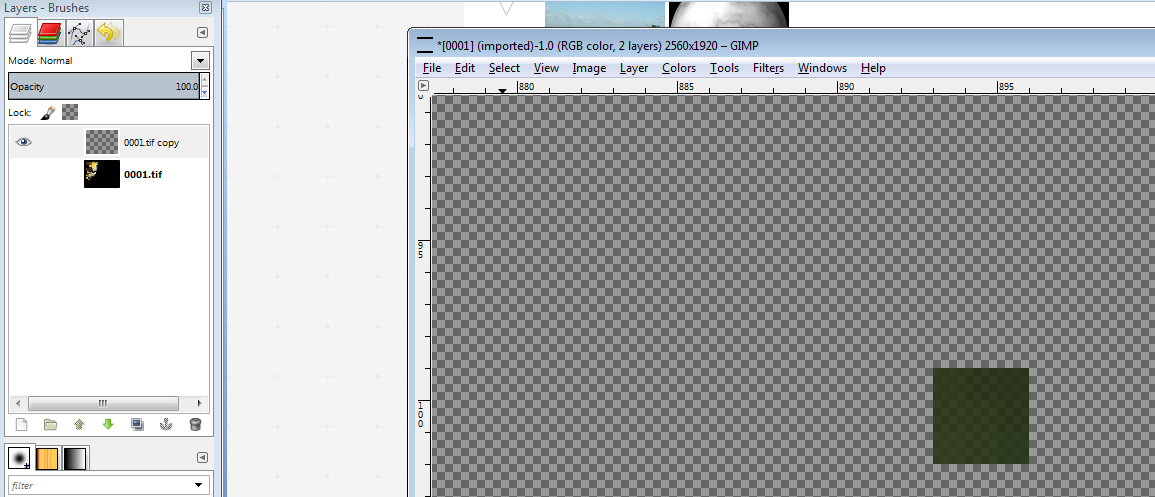
The selection is based off a static file containing the black points in the precise locations of the bad CCD pixels. The script takes this reference file and using the GIMP “Alpha to Selection” creates a selection based on the black points.
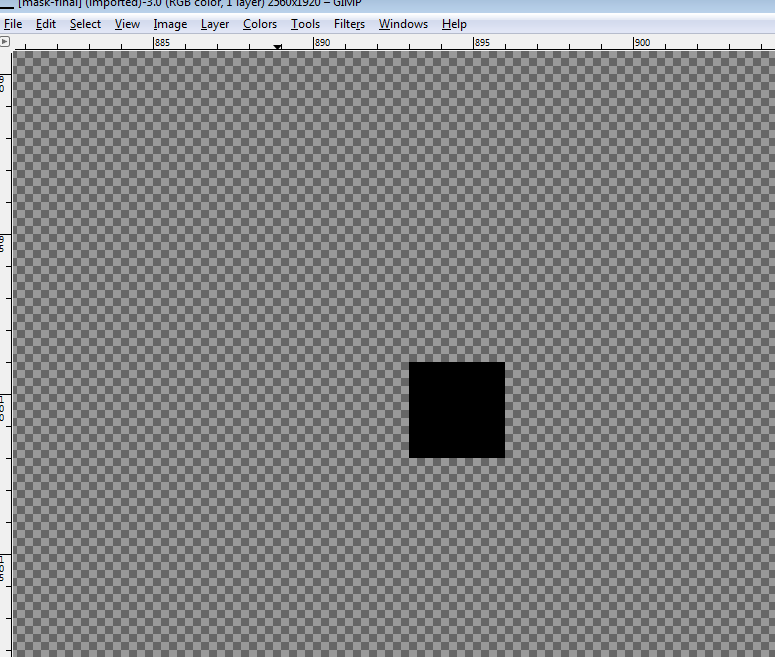
Black Point Example
The manual GIMP steps for the script are:
- Open the image
- Add the “black points” PNG image as a layer
- Right click on the “black points” layer and click “Alpha to Selection”
- Merge layers, aka flatten
- Click Heal Selection plugin and enter desired parameters
- Clear selection
- Save
Thanks to this script I can turn a week or two of work into an hour or less. NOTE: I was only able to successfully run the script via the GIMP internal console.
I have included test images and example commands in the Github folder.

